TILAPIA: “Dinarang Sa Apoy” (Wrapped Tilapia Cooked Via Direct Fire)

Picture

TILAPIA: “DINARANG SA APOY”
(Wrapped Tilapia Cooked Via Direct Fire)
I used to teach this quick-prep-dish to friends who own resto-bars.
Easily available ingredients, quick to prepare and can be served
as “finger food” for spirited drinks or as course in itself.
No frying, no pre-heating of stove just rub spice blend unto fish, wrap,
fire it up, garnish & serve.
Here we go.
INGREDIENTS:
1 piece 800 grams – 1 kilo cleaned Tilapia or Pla-Pla (term for a kilo or larger Tilapia)
RUB:
2 sachets Knorr or Maggi “Sinigang Mix” (tamarind soup base mix)
3 grams fine salt
2 grams ground black pepper
2 grams ginger powder
2 grams red cayenne pepper powder (for little “kick”)
20 ml. EVOO (Extra Virgin Olive Oil)
GARNISH, SIDES & DIP
1 whole bunch of “pechay Baguio” (wom bok or wong bok)
to serve as fish-wrap and as bed & garnish.
2 medium tomatoes – sliced
1 small carrot, de-skinned, julienned
whole red and green bell peppers for garnish ONLY (optional)
1 “manibalang (semi-ripe) green mango” – skin on, sliced
(should you want plain green…go ahead)
20 grams pre-cooked “alamang bagoong” (shrimp paste) as mango dip
15 ml. soy sauce with 5 ml. calamansi (or lemon) juice for dip
COOKING MEDIA:
foil
wire rack
2 tongs or spatula with large scoop-ends
PROCEDURES:
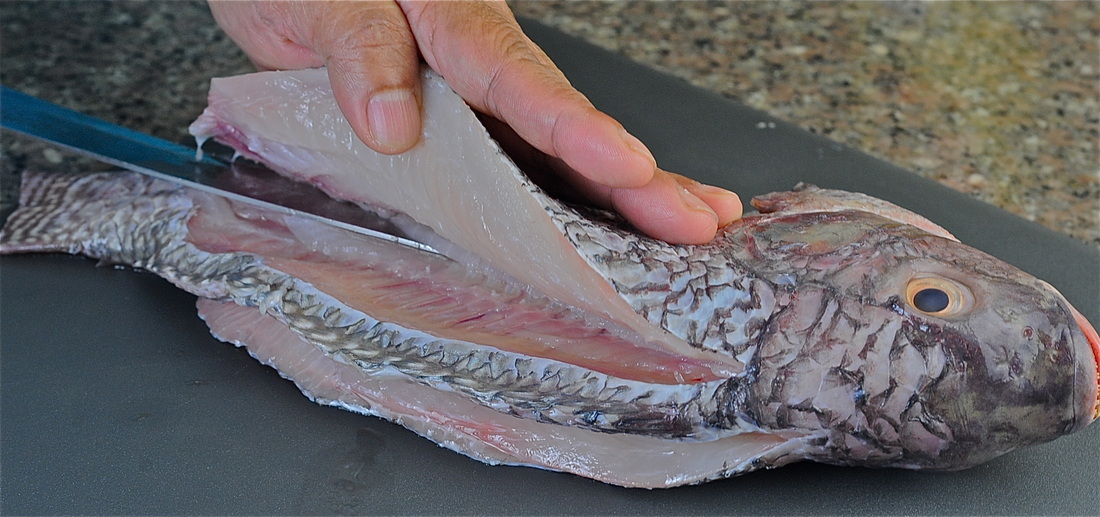
1. Slit sides and back of Tilapia for full flavor rubbing & penetration
 

Picture

Picture

2. Except for EVOO, blend and mix well via wire whisk
all powder ingredients of rub. Set aside.
3. Pour in EVOO to all sides, inside, into the slits and into head of fish
and cover all parts by seemingly massaging its flesh.
This will ensure optimum powder-flavor absorption.
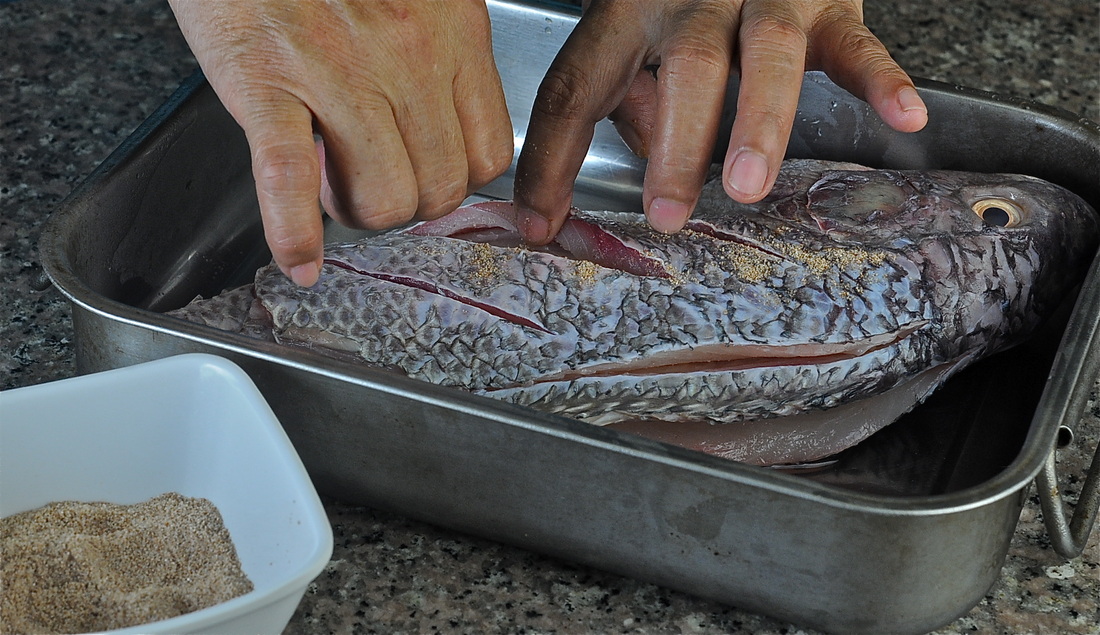
4. Apply rub and ensure all parts are covered.

Picture

Picture

Picture

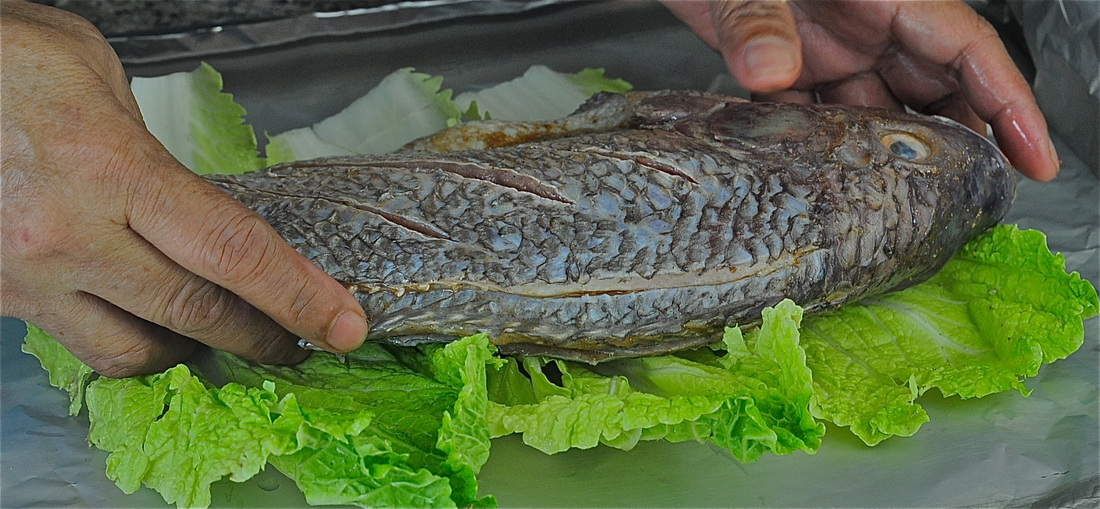
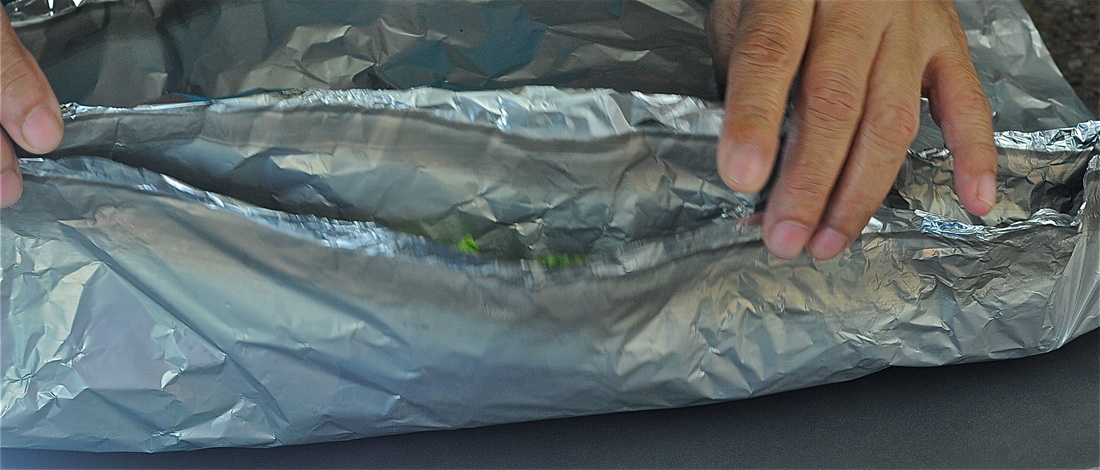
5. Foil underneath, lay flat leaves of pechay to serve as bed & wrap,
put in fish, cover with leaves of pechay again
…then wrap and fold ends of foil so juices won’t leak out.

Picture

Picture

Picture

Picture

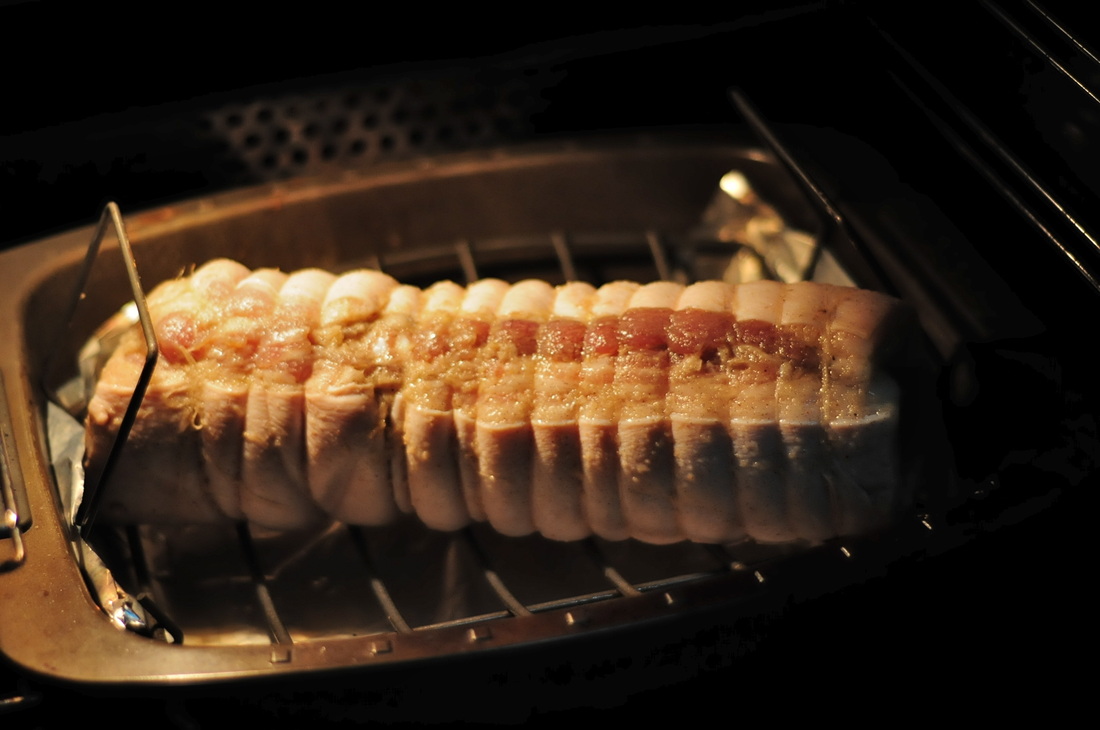
6. In wire rack lay fish. Fire stove to high temp.
7. As size of fish is quite big that it won’t fit into 1 cooking,
cook fish 2 minutes in upper part…slide
then cook lower part for 2 minutes as well.
8. Turn fish the other side and repeat #7.
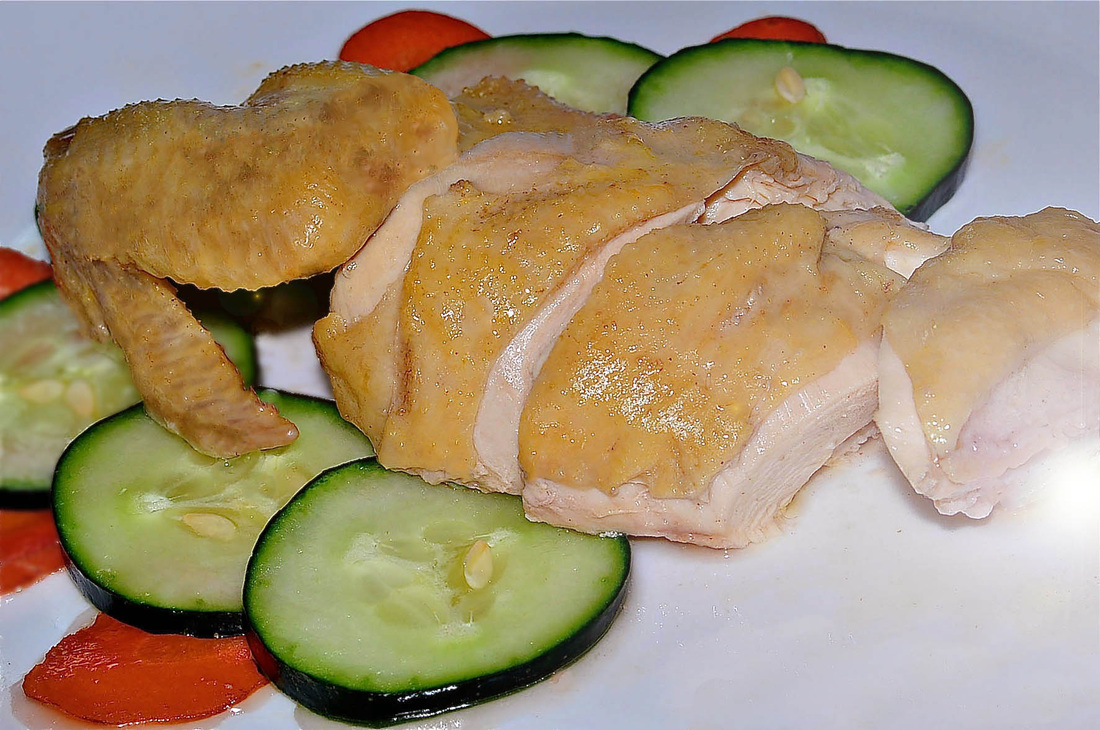
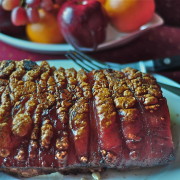
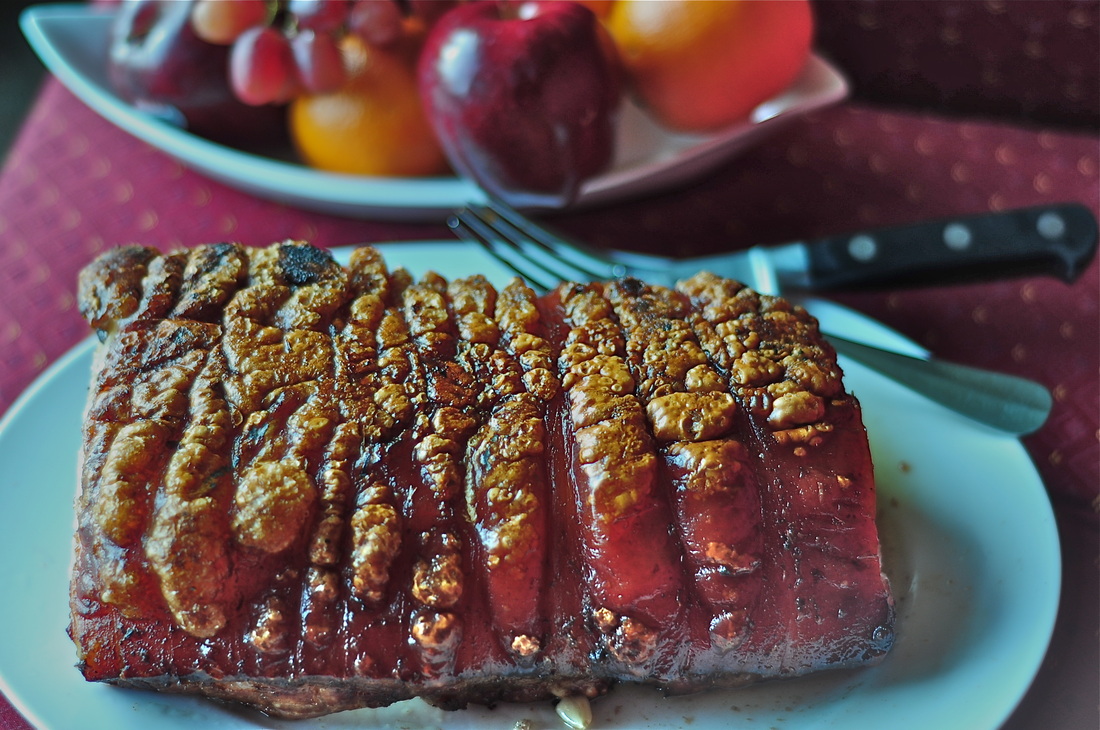
Picture

9. After 4 minutes…

Picture

…now you get your juiciest and tastiest Tilapia
that you can happily enjoy with family or friends.
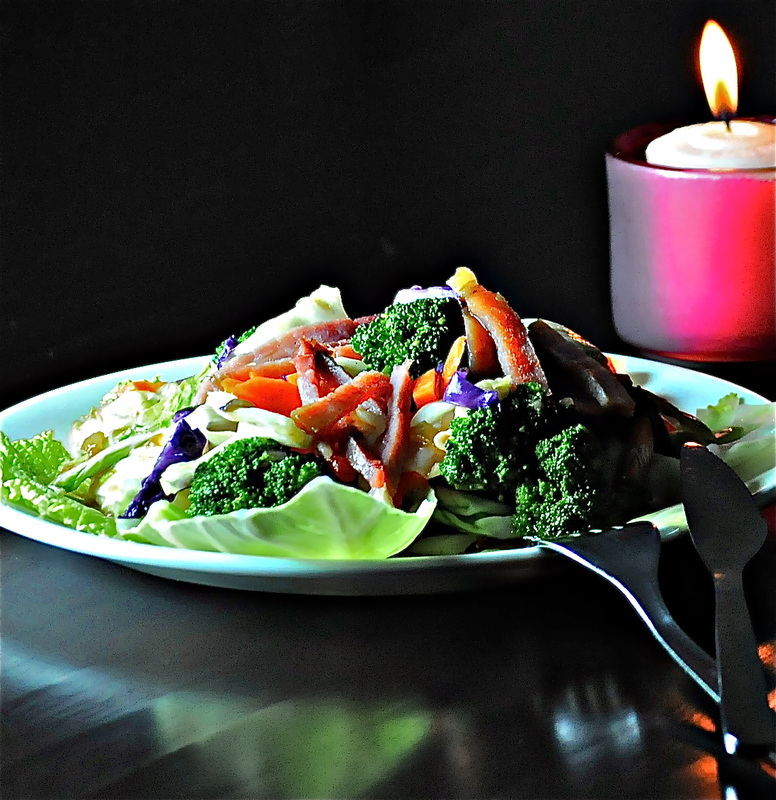
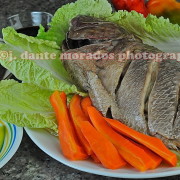
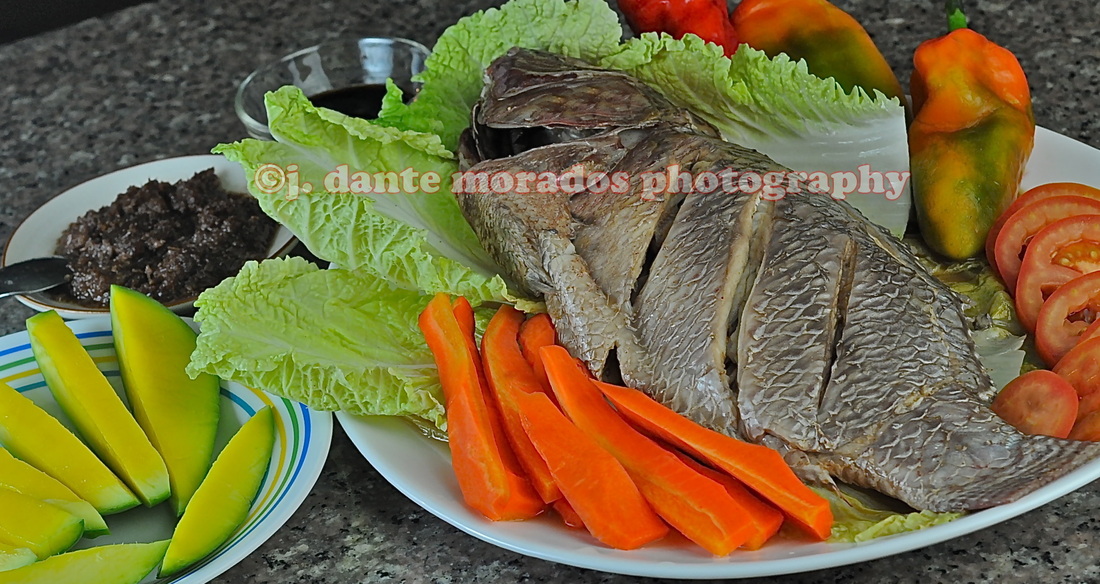
10 Set in plate, garnish, serve along with mango & “bagoong”
plus the soy sauce-calamansi dip.
Note:
Seems long process at first instance but your 2nd to nth times
will normally just take you 10 minutes prep plus max 10 minutes cooking.

PINAUPONG MANOK (Chicken Steamed “By” A Bed of Salt). No water…nothing…just salt.

Picture

PINAUPONG MANOK
( Chicken Steamed “By” a Bed of Salt)
Fad of the year is geared unto “Hainanese Type” chicken dish.
For such, I particularly love the offering of
Wee Nam Kee-Raffles Ave., Singapore ONLY
(click for resto’s details)

No “hocus pocus”, plainly served-just
concoct your own dip with or without their “oiled ginger”.
With such as my inspiration…this dish is hereby re-activated.
I always take into consideration hectic sked of the workforce.
Learned from my parents, innovated fully to suit
today’s busy bodies, here’s another chicken recipe (Filipino that is)
that anybody can prepare.
Tastier than Hainanese-type, quicker to prepare
and the simplest ingredients ever.
INGREDIENTS:
MAIN:
1 kilo fully cleaned chicken, neck, feet & innards removed
and, if possible, skin still intact
2-3 kilos rough sea salt (steaming pan dependent)
2 packets of Knorr or Maggi “Sinigang Mix” (tamarind soup base)
GARNISH:
1 small sliced carrot
1 small sliced cucumber
1 small bunch onion leaves or celery stalks (optional)
DIPPING SAUCE:
1 small cut of ginger, de-skinned, grated
20 ml. EVOO (Extra Virgin Olive Oil)
40 ml. soy sauce
10 ml. calamansi juice
10 grams “chili-garlic sauce” (optional)
(for chili-garlic recipe click here)
PROCEDURES:
1.   Covering all parts inside and outside,
rub chicken with “Sinigang Mix”. Set aside.
2.   In suitable pan, pour in salt
and make at least 2 inches thick layer at the bottom.

Picture

3.Sit in chicken making sure not a part of it touches
the sides of pan. (failing which, burning occurs)
Use its neck or feet as “kalso”  (wedge thing)
under it to ensure chicken sits upwards.
SEE FIRST PIC ABOVE.
4. Heat pan at medium temp and “steam” chicken
for no more than 20 minutes (for very juicy inside) or
up to 25 minutes (for just right medium well state).
Steaming longer will render dryness to poultry.

Picture

5. While waiting heat EVOO, pour in grated ginger and heat for 1 minute. Set aside.
6. And now… oh WOW,  your chicken “steamed via bed of salt” is done.
7. Mix in “calamansi juice”, soy sauce and “chili-garlic sauce” for dip
or grated ginger with soy sauce or whatever…
it’s your rule…your wild…
8. Slice, garnish and serve
your very own style of better than Hainanese poultry.

Picture

NOTE:
Don’t worry about your pan. Just pour in half pan tap water.
Let sit overnight.  Post cleaning, it will again be
“spick and span”.
A lot of variations can be applied to this recipe.
You wanna know?
Ask me. Click here.

Gramp’s Salad. (…just a term. Also designed for young ones)

Picture

GRAMP’S SALAD
Constantly communicating and exchanging ideas
on just right & proper ingredients’ usages
to Chef Ma, a culinary professor, down mid part of archipelago, in Visayas.
Had given her some recommendations on the kinds of
ingredients, food grade chemicals & preservatives to be used in:
sauces, cooked canned Filipino per-serve recipes and bottled-flavored iced teas.
An extra perk, in exchange for my recommendations,
she developed a “super easy & quick to prepare veggies salad”
dedicating the apt nomenclature to me:
“GRAMP’s SALAD”
Simple as they are, I adjusted some ingredients,
removed un-needed ones and introduced “quick blanching” into veggies.
“Quick boiling water blanching” does not take away crispness,
it, in fact, retains, & enhances the green color of veggies
while acting as “bactericidal” medium (killing bacteria)
that may be present in raw ones as amoeba.
Thus, “amoebiasis”, in big essence, is prevented.
And I was excited to take snaps of it…so here:
INGREDIENTS:
1.    8-10 pieces of processed meat product you wish.
Slice into strips and fry to your desired done-ness. Set aside.
2.    1 medium broccoli (stalks included) cut to bite size
3. 4-6 leaves of sliced lavander cabbage
4. 4-6 whole leaves of green cabbage – 2 to serve as “bed” & 2 sliced
5. 4 whole leaves of lettuce (any type) – 2 also to serve as “bed” & 2 sliced
6. 1 small carrot – julienned
7. 2 cloves crushed garlic
8. 5ml. EVOO (Extra Virgin Olive Oil)
9. 20 grams oyster sauce
10. 5 grams salt
11.2 grams black pepper
12. 15 ml. tap water for dressing
13. 250 ml. tap water for blanching
PROCEDURES:

1). Saute crushed garlic in heated EVOO.
2). Pour in 5ml. tap water & oyster sauce.
Toss. Simmer. Set aside.
3). In a pan pour in 250 ml. water. Add 1/2 of salt. Boil.
4). In strainer gather all veggies and
blanch in boiling water for just 1 minute.
5). Create “bed” of blanched whole veggie leaves in plate.
6). Pour on top sliced vegetables.
7). Top with fried meat strips.
8). Dress with simmered oyster sauce.
9. Again & again, best enjoyed with loved one.And so, beside lightly lit candle, pairing red or white wine,
your night will spell a very healthy simple dinner.
Not filling.
But satisfying.
Utterly memorable.

LIEMP-CHON (Lechon Liempo)

Picture

The craving for Cebu Lechon
(roasted pig from Cebu-a Visayas region in mid Philippines)
either flown in direct or approximated in Manila, is slowly getting into a fad.
An overly salty, garlic-ky  & Filipino lemon grass abundant marinade
gives the product a different twist.
Via charcoal or open fire it is roasted for 3-5 hours.
Consumers dip bite size delicacies into plain or garlic-laden vinegar.
The craze is my inspiration but I added a kick to it.
Made it simple, oven roasted and tastiest.
INGREDIENTS & COOKING NEEDS:
2 kilos of fully cleaned skin-on, rectangular pork belly (“liempo”)
1 piece large garlic bulb, de-skinned, pounded
1 large white or red onion, quartered
3 pieces cut into 2 inches “tanglad” (Filipino lemongrass)
25 grams fine salt
5 grams ground black pepper
10ml. soy sauce
15 ml. EVOO
thick thread for tying
meat thermometer
PROCEDURES:
1.    Score and slit lean, skin & fat parts of the belly.
2.    Pour in all ingredients unto blender and blend/mix until paste.
3.    Rub inside slits and all parts of meat plus the inside
to effect full flavor absorption.
4.    With left over marinade, lay flat belly (lean part side down)
and marinate for 2 hours inside ref. (DO NOT FREEZE)
5.    Tumble and turn every 30 minutes.
6.    Pouring all marinade left over inside the meat, roll and tie as in picture.
7.    Pour tap water 1/2 of pan.
This will serve as moisturizer to heated meat and as dripping medium.
8.    Pre-heat oven to 350 deg.F then, on top of pan (in a wire rack)
sear belly for 30 minutes.
9.    Lower temp to 250 deg.F and cook further for 1 more hour & 30 minutes
(or longer as you wish-adding water to pan as need be)
until internal temp reaches 140 deg. F for medium rare,
150 deg. F for medium,
155 deg. F for medium well
& 160-165 deg. F for well done.
But fate has not been kind in this instance of  my cooking endevour…
the string got burned and loosen off midway.
Thereby…I got crackling skin (like Chicharon), crispy reddish-brown rind
resembling that of a real charcoal-cooked Lechon
AND a very tasty, juicy and ultra tender inside.
10. Serve.
Best with “suka’t bawang” (garlic-vinegar dip)

Picture

Pork Shu-Mai (The Health-Centered Formulation).

Picture

PORK SHU-MAI
(The Health-Centered Formulation)
The process deviates from the usual, which incorporates cubes of fat (pork and/or beef),
mainly to soften bite-effect of all-lean meat
and also to render juiciness to overall profile of the end product.
In lieu of said fat, grated healthy veggies are utilized to simulate “moist” outcome
plus the careful addition of just right & proper ingredients
technologically resulting to rounded-tasteful dim sum.
Behold the shu-mai packed with health-centered ingredients.
Ingredients:
(1 kilo outcome making 50 pieces of 20 grams per piece)500 grams ground all lean pork (zero fat-from ham part)
50 grams grated carrots
50 grams grated turnip (“singkamas”)
50 grams grated “sayote”
3 grams fine salt
10 grams cane sugar
2 grams ground black pepper
45 grams Shiitake or button mushroom, soaked in mushroom water for an hour,
drained and cut to small pieces
30 grams tapioca starch
15 ml. low-sodium soy sauce
15 ml. oyster sauce
230 ml. water (for soaking mushroom)
50 pieces shu-mai wrapper
Note on wrapper:
Major supermarkets sell shu-mai or siomai wrappers
which are thinner than those for dumpling.
Round ones are better. Squares can be cut on edges to make them circular.
Chili Garlic Dipping Sauce:
100 grams crushed-chopped fresh garlic
100 grams crushed chopped “labuyo” (bird’s eye chili pepper)
20 ml. EVOO (Extra Virgin Olive Oil)
low-sodium soy sauce
calamansi or lemon
black beans – optional
Cooking Media:
Steamer
Water
Brush
EVOO
Suitable small pan
Tongs
Procedures:
1.    Combine ground pork, carrots, turnip, “sayote”, mushroom and water.
This is the “meat blend”. Tumble and mix well by hand. Set aside.
2.    Combine low-sodium soy sauce, oyster sauce, salt, sugar and black pepper in a bowl
and whisk thoroughly to dissolve solid ingredients until smooth.
3.    Scatter mixture in all parts of “meat blend”
for uniform flavor dissemination when tumbled and tossed by hands.
Tumble thoroughly.
4.    Place a wrapper at palm of one hand, scoop 20 or so grams and wrap to your desired form.
5.    When done refrigerate formed shu-mai for an hour to attain firmness.
6.    Heat EVOO, fry garlic until brown, add in “labuyo”
and continue frying for 3 minutes to attain a “toasted” profile.
Pour in soy sauce. Bring to boil then set aside.
7.    IF STEAMING: Boil enough tap water in a steamer.
Line refrigerated shu-mai in steamer’s slotted top container.
Steam for 6 minutes. Remove by using rubber spatula.
Note on steaming process:
Should you wish, you may use brush to apply little oil
unto slotted container for easier removal.
8.    IF DEEP FRYING: Heat EVOO in pan and deep fry a batch of shu-mai (4-6 pieces)
for 3-4 minutes depending on desired done-ness.
Use tongs to turn dim sum.
9.    In a dipping container mix soy sauce with desired amount of fried chili-garlic,
squeeze in 1 or 2 pieces calamansi. Mix.
10.Savour the luxury of home-made shu-mai.

Complete your technological cooking adventure
by using “chopsticks” in partaking each and every piece of shu-mai.
Doing so adds excitement to your meal.