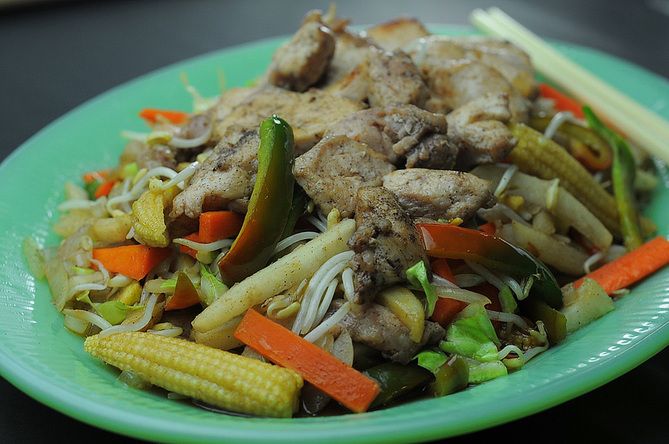
Yasai Itame (My Version)
“YASAI ITAME” (My Version)
(STIR FRIED VEGETABLES)
(STIR FRIED VEGETABLES)
“Yasai Itame” is the Japanese word for stir-fried vegetables. “Yasai” denotes vegetables while “Itame” means stir fry. My first order each time a chance to dine at Jap-Resto comes.
Truth is, the dish needs no recipe to follow at all. Any veggies peeping out of your ref or leftovers or any combination you desire can result to this prep.
Flex your muscle by tossing and turning this dish with thinly sliced pork, chicken, beef, seafood or veggies-all.
Infused a bit of Filipinism again to bolster my wish of having ultra healthy solid which my red still will push down-way to my tummy. I dare you to make it. Loved ones will love you more.
Infused a bit of Filipinism again to bolster my wish of having ultra healthy solid which my red still will push down-way to my tummy. I dare you to make it. Loved ones will love you more.
Yasai Itame (My Version)

Prep time
Cook time
Total time
Serves: 4
Ingredients
- MEAT:
- ½ chicken breast, deboned, sliced nicely
VEGGIE MIX:- 1 small carrot, julienned
- 1 small turnip (singkamas), julienned
- 1 red bell pepper, de-seeded, julienned
- 1 green bell pepper, de-seeded, julienned
- 6 pieces young corn cut in half
- 3 leaves cabbage, rolled then sliced thinly
- 200 grams bean sprouts, hairy tips removed
- 1 small white, onion sliced thinly
- 6 cloves crushed fresh garlic
- 40 ml. sesame oil
- 30 ml. EVOO (Extra Virgin Olive Oil)
- 20 grams salt
- 5 grams ground black pepper
- OPTIONAL 3 grams MSG
Instructions
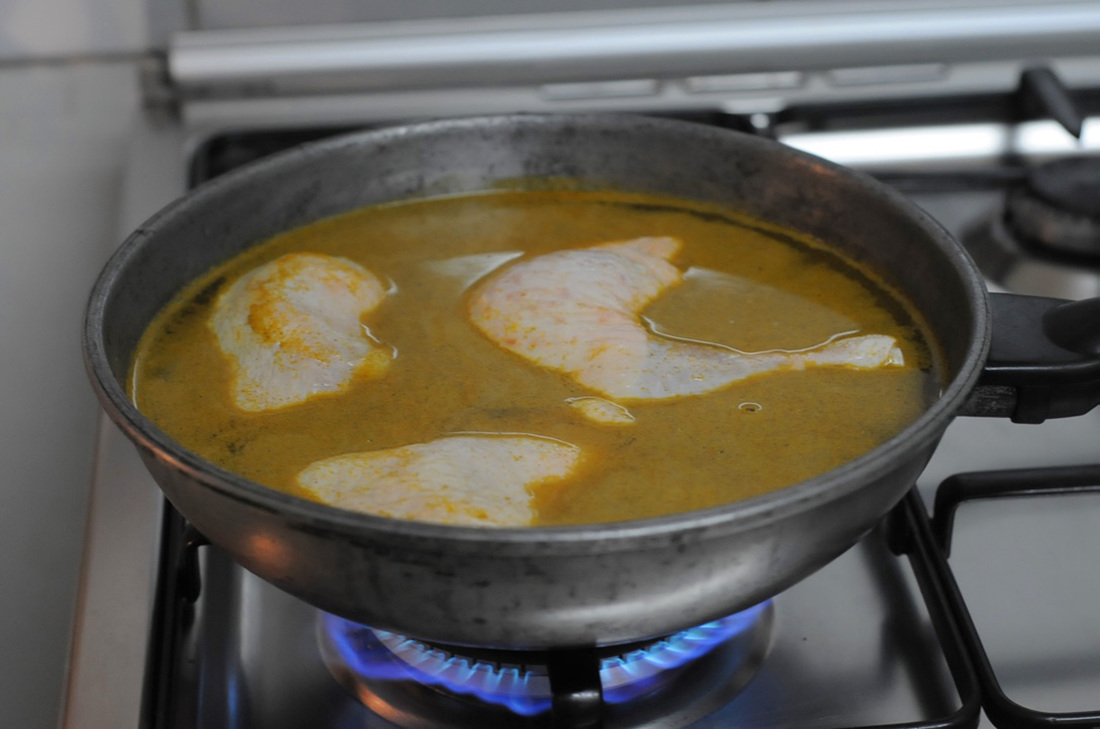
- Combine sesame oil and EVOO in medium heated pan and add in your garlic and onion. After about a minute, pour in your salt and pepper seasoned breast. Stir a bit. Stop. Let heat penetrate chicken flesh. Flip when needed.
- When breast turns bit brown (about 5-8 minutes), scoop out and set aside.
- In the same pan, adjust heat to high, pour young corn and stir fry for 1 minute. Next add in ALL the remaining veggies.
- Tossing and turning and tumbling consistently, cook your veggies for 3 minutes. Season with salt , pepper and the OPTIONAL MSG.
- Scoop out to your serving plate and garnish with sliced breasts on top.
- DONE. Enjoy. Be proud of your creation.
Notes
DISCLAIMER: Above are test kitchen and household-produced dishes. All ingredients utilized are of food grade quality passing international and domestic sanitary standards. While we find the results highly acceptable, no guarantee nor explicit assurance is hereby issued when recipe is performed by readers. For one, although of similar breed, spices, herbs and other ingredients vary from country to country/region to region that possibility of affecting end taste, aroma & bite-feel is great. Further thereto, mentioned sensory evaluation (aroma, taste, mouth-feel) is subjective.