Pork Shu-Mai (The Health-Centered Formulation).
PORK SHU-MAI
(The Health-Centered Formulation)
The process deviates from the usual, which incorporates cubes of fat (pork and/or beef),
mainly to soften bite-effect of all-lean meat
and also to render juiciness to overall profile of the end product.
In lieu of said fat, grated healthy veggies are utilized to simulate “moist” outcome
plus the careful addition of just right & proper ingredients
technologically resulting to rounded-tasteful dim sum.
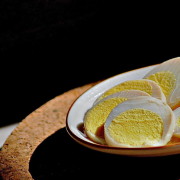
Behold the shu-mai packed with health-centered ingredients.
(The Health-Centered Formulation)
The process deviates from the usual, which incorporates cubes of fat (pork and/or beef),
mainly to soften bite-effect of all-lean meat
and also to render juiciness to overall profile of the end product.
In lieu of said fat, grated healthy veggies are utilized to simulate “moist” outcome
plus the careful addition of just right & proper ingredients
technologically resulting to rounded-tasteful dim sum.
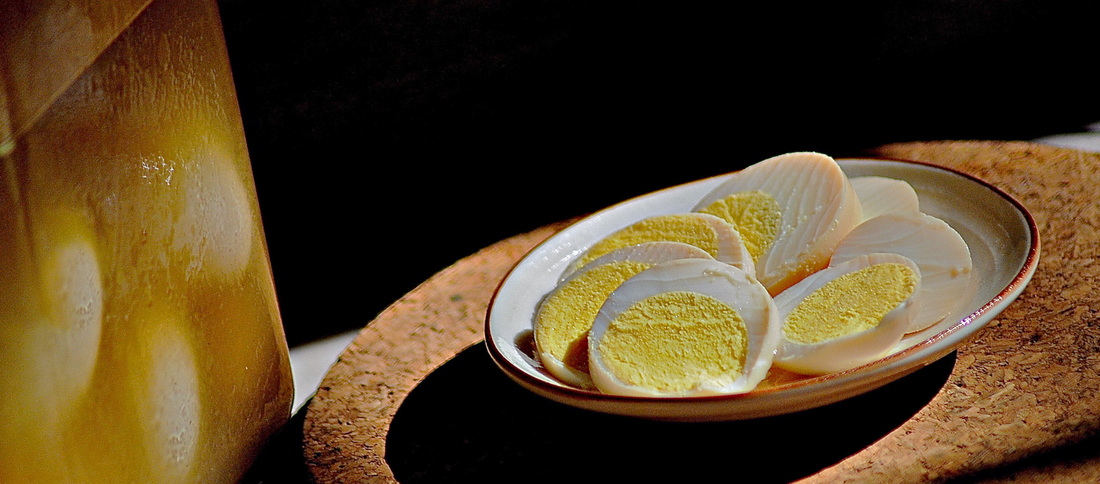
Behold the shu-mai packed with health-centered ingredients.
Ingredients:
(1 kilo outcome making 50 pieces of 20 grams per piece)500 grams ground all lean pork (zero fat-from ham part)
50 grams grated carrots
50 grams grated turnip (“singkamas”)
50 grams grated “sayote”
3 grams fine salt
10 grams cane sugar
2 grams ground black pepper
45 grams Shiitake or button mushroom, soaked in mushroom water for an hour,
drained and cut to small pieces
30 grams tapioca starch
15 ml. low-sodium soy sauce
15 ml. oyster sauce
230 ml. water (for soaking mushroom)
50 pieces shu-mai wrapper
Note on wrapper:
Major supermarkets sell shu-mai or siomai wrappers
which are thinner than those for dumpling.
Round ones are better. Squares can be cut on edges to make them circular.
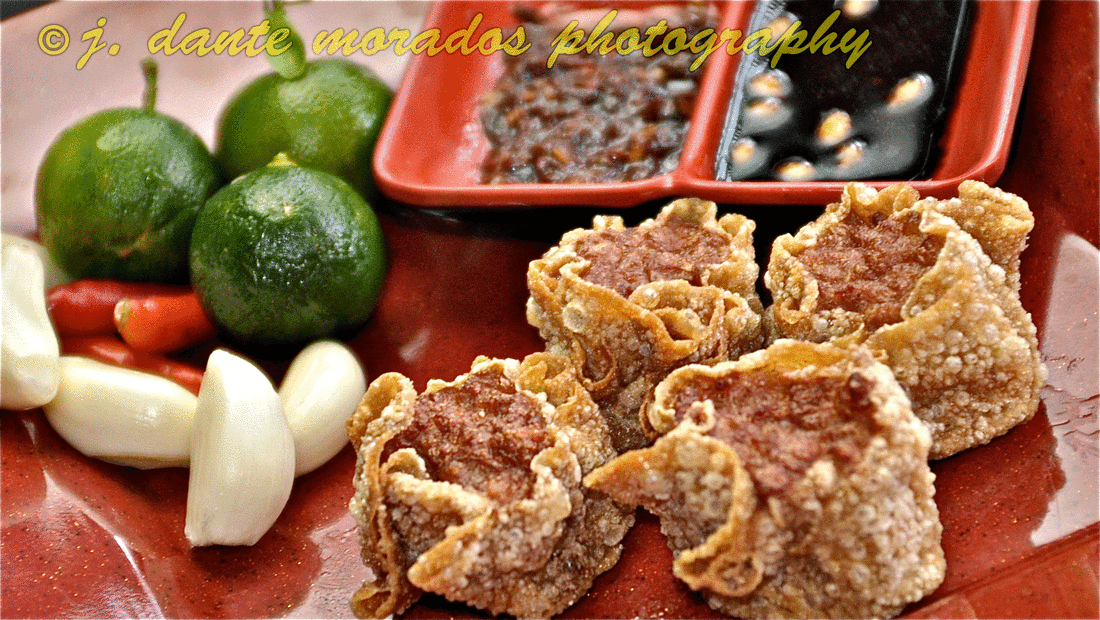
Chili Garlic Dipping Sauce:
100 grams crushed-chopped fresh garlic
100 grams crushed chopped “labuyo” (bird’s eye chili pepper)
20 ml. EVOO (Extra Virgin Olive Oil)
low-sodium soy sauce
calamansi or lemon
black beans – optional
Cooking Media:
Steamer
Water
Brush
EVOO
Suitable small pan
Tongs
Procedures:
1. Combine ground pork, carrots, turnip, “sayote”, mushroom and water.
This is the “meat blend”. Tumble and mix well by hand. Set aside.
2. Combine low-sodium soy sauce, oyster sauce, salt, sugar and black pepper in a bowl
and whisk thoroughly to dissolve solid ingredients until smooth.
3. Scatter mixture in all parts of “meat blend”
for uniform flavor dissemination when tumbled and tossed by hands.
Tumble thoroughly.
4. Place a wrapper at palm of one hand, scoop 20 or so grams and wrap to your desired form.
5. When done refrigerate formed shu-mai for an hour to attain firmness.
6. Heat EVOO, fry garlic until brown, add in “labuyo”
and continue frying for 3 minutes to attain a “toasted” profile.
Pour in soy sauce. Bring to boil then set aside.
7. IF STEAMING: Boil enough tap water in a steamer.
Line refrigerated shu-mai in steamer’s slotted top container.
Steam for 6 minutes. Remove by using rubber spatula.
Note on steaming process:
Should you wish, you may use brush to apply little oil
unto slotted container for easier removal.
8. IF DEEP FRYING: Heat EVOO in pan and deep fry a batch of shu-mai (4-6 pieces)
for 3-4 minutes depending on desired done-ness.
Use tongs to turn dim sum.
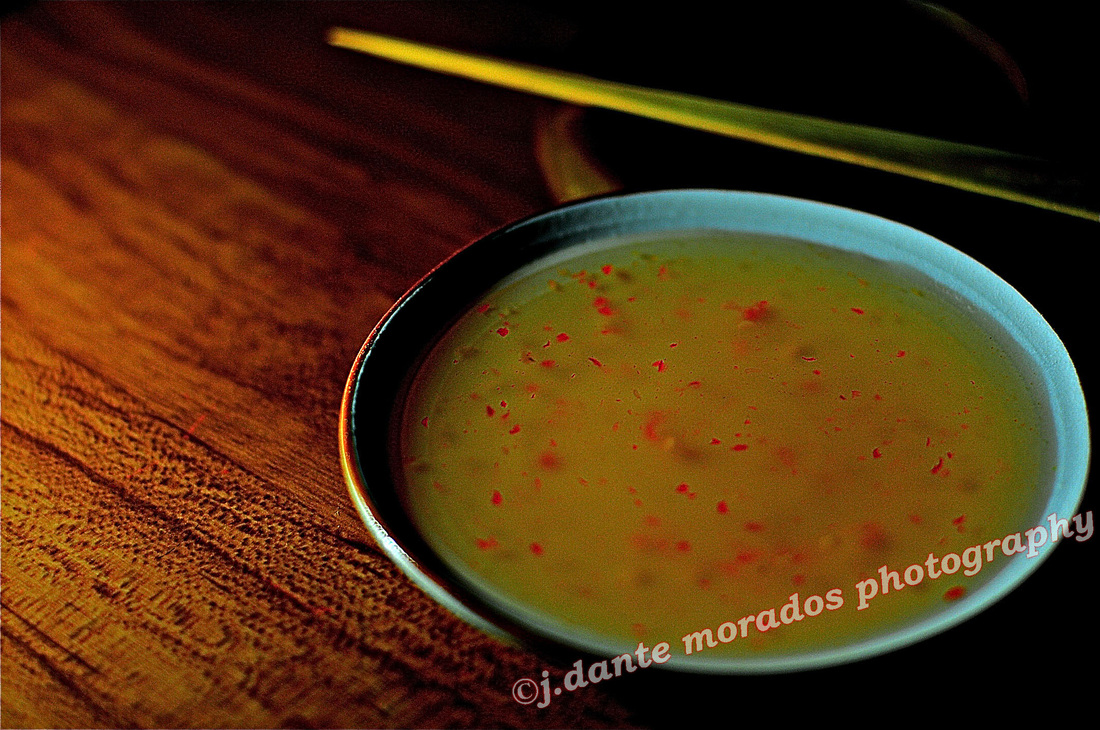
9. In a dipping container mix soy sauce with desired amount of fried chili-garlic,
squeeze in 1 or 2 pieces calamansi. Mix.
10.Savour the luxury of home-made shu-mai.
(1 kilo outcome making 50 pieces of 20 grams per piece)500 grams ground all lean pork (zero fat-from ham part)
50 grams grated carrots
50 grams grated turnip (“singkamas”)
50 grams grated “sayote”
3 grams fine salt
10 grams cane sugar
2 grams ground black pepper
45 grams Shiitake or button mushroom, soaked in mushroom water for an hour,
drained and cut to small pieces
30 grams tapioca starch
15 ml. low-sodium soy sauce
15 ml. oyster sauce
230 ml. water (for soaking mushroom)
50 pieces shu-mai wrapper
Note on wrapper:
Major supermarkets sell shu-mai or siomai wrappers
which are thinner than those for dumpling.
Round ones are better. Squares can be cut on edges to make them circular.
Chili Garlic Dipping Sauce:
100 grams crushed-chopped fresh garlic
100 grams crushed chopped “labuyo” (bird’s eye chili pepper)
20 ml. EVOO (Extra Virgin Olive Oil)
low-sodium soy sauce
calamansi or lemon
black beans – optional
Cooking Media:
Steamer
Water
Brush
EVOO
Suitable small pan
Tongs
Procedures:
1. Combine ground pork, carrots, turnip, “sayote”, mushroom and water.
This is the “meat blend”. Tumble and mix well by hand. Set aside.
2. Combine low-sodium soy sauce, oyster sauce, salt, sugar and black pepper in a bowl
and whisk thoroughly to dissolve solid ingredients until smooth.
3. Scatter mixture in all parts of “meat blend”
for uniform flavor dissemination when tumbled and tossed by hands.
Tumble thoroughly.
4. Place a wrapper at palm of one hand, scoop 20 or so grams and wrap to your desired form.
5. When done refrigerate formed shu-mai for an hour to attain firmness.
6. Heat EVOO, fry garlic until brown, add in “labuyo”
and continue frying for 3 minutes to attain a “toasted” profile.
Pour in soy sauce. Bring to boil then set aside.
7. IF STEAMING: Boil enough tap water in a steamer.
Line refrigerated shu-mai in steamer’s slotted top container.
Steam for 6 minutes. Remove by using rubber spatula.
Note on steaming process:
Should you wish, you may use brush to apply little oil
unto slotted container for easier removal.
8. IF DEEP FRYING: Heat EVOO in pan and deep fry a batch of shu-mai (4-6 pieces)
for 3-4 minutes depending on desired done-ness.
Use tongs to turn dim sum.
9. In a dipping container mix soy sauce with desired amount of fried chili-garlic,
squeeze in 1 or 2 pieces calamansi. Mix.
10.Savour the luxury of home-made shu-mai.
Complete your technological cooking adventure
by using “chopsticks” in partaking each and every piece of shu-mai.
Doing so adds excitement to your meal.